Boy, Was I Wrong! - Making the 'Lab Kit'.
- David Stann

- Mar 19, 2022
- 2 min read
When I initially had the idea to do this kit, I thought of it as being a fairly simple project. Something I could release between sculpts. Ha! As I so often do, I totally misjudged the complexity of it all.

Flashlight anyone?
I tried to make this kit as accurate as possible. What would be the point, Otherwise? Countless hours were spent peering through the shadows of so many movie stills and screen caps trying to understand the forms that made up the various elements of the lab equipment. Just when I was fairly confident that I had something that felt right...I'd see it in different lighting or from a different angle and realize....oh man...how did I not see that? I feel pretty confident that what we have released is at least 90-95% accurate. Once I was finally happy with the overall design, it was time to move on to production.
Now What?
Accuracy was just the beginning. I next had to consider how I was going to break the kit down into printable-size pieces.
The tallest piece of equipment measures around 22 inches high when completed and there are some very large parts that could not be broken down or separated into two. I also needed to consider how this kit would be built-up.
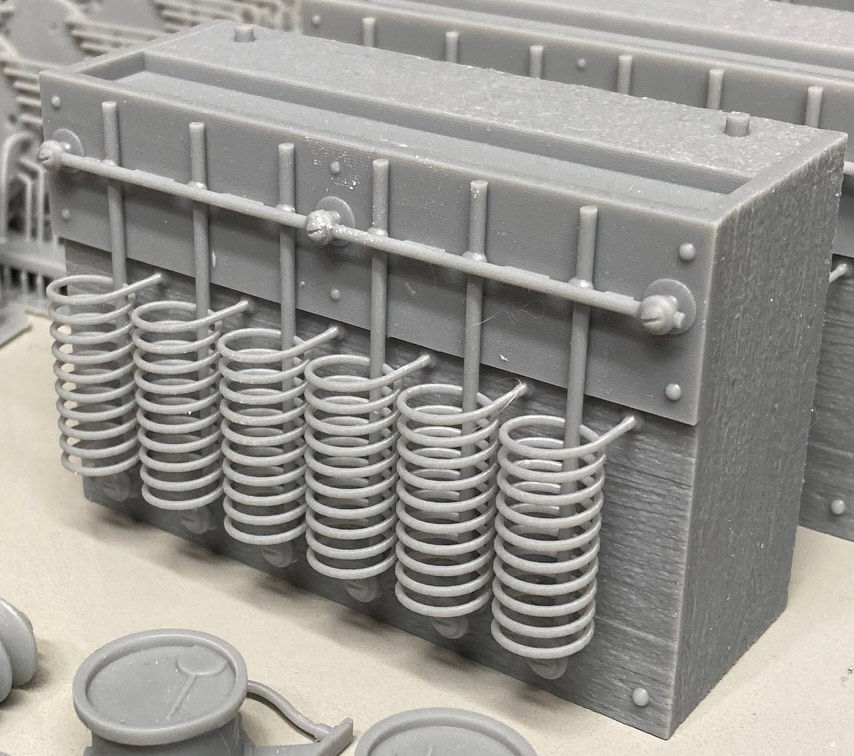
I didn't want kit-builders to have to putty seam lines in hard to reach places such as the 37 fins that make up the base of third machine.
I also tried to keep the number of parts to a minimum. The lab kit consists of around 40 separate parts. That's about the same as our Tauntaun kit. So...not too bad. The kit does come with 10 pages of instructions and I don't believe it'll be too complicated for most.
Overcoming The Inaccuracies of 3D Printing

Wait a minute...I thought what gets designed on the computer is exactly what you get when you print something?
Turns out 3D printing is not as precise as some probably think. For example, making two parts fit together with a simple slot and tab is not that easy - you have to account for expansion and contraction of parts during the print process. This took some trial and error to figure out. Lots of prototyping!
There were several thin parts that had to be designed in such a way as to prevent warping and I had to overcome some really strange issues that occur with printing the cabinets and textures. I just had to have wood textures in the cabinets!
End Result
Despite all of the challenges, I have to say that I'm pretty proud of how the kit turned out. I hope everyone enjoys working on it. I actually can't wait to paint mine!


Comments